If you ask most home owners in Singapore how they connect up their networks, a common answer will be the Wi-Fi router that comes with their fibre broadband provider. Or, some might buy their own newfangled Wi-Fi 6 or mesh Wi-Fi setup, if they install their own home networks.
What is usually missing from the picture is a technology often used in offices and factories – Power over Ethernet (PoE).
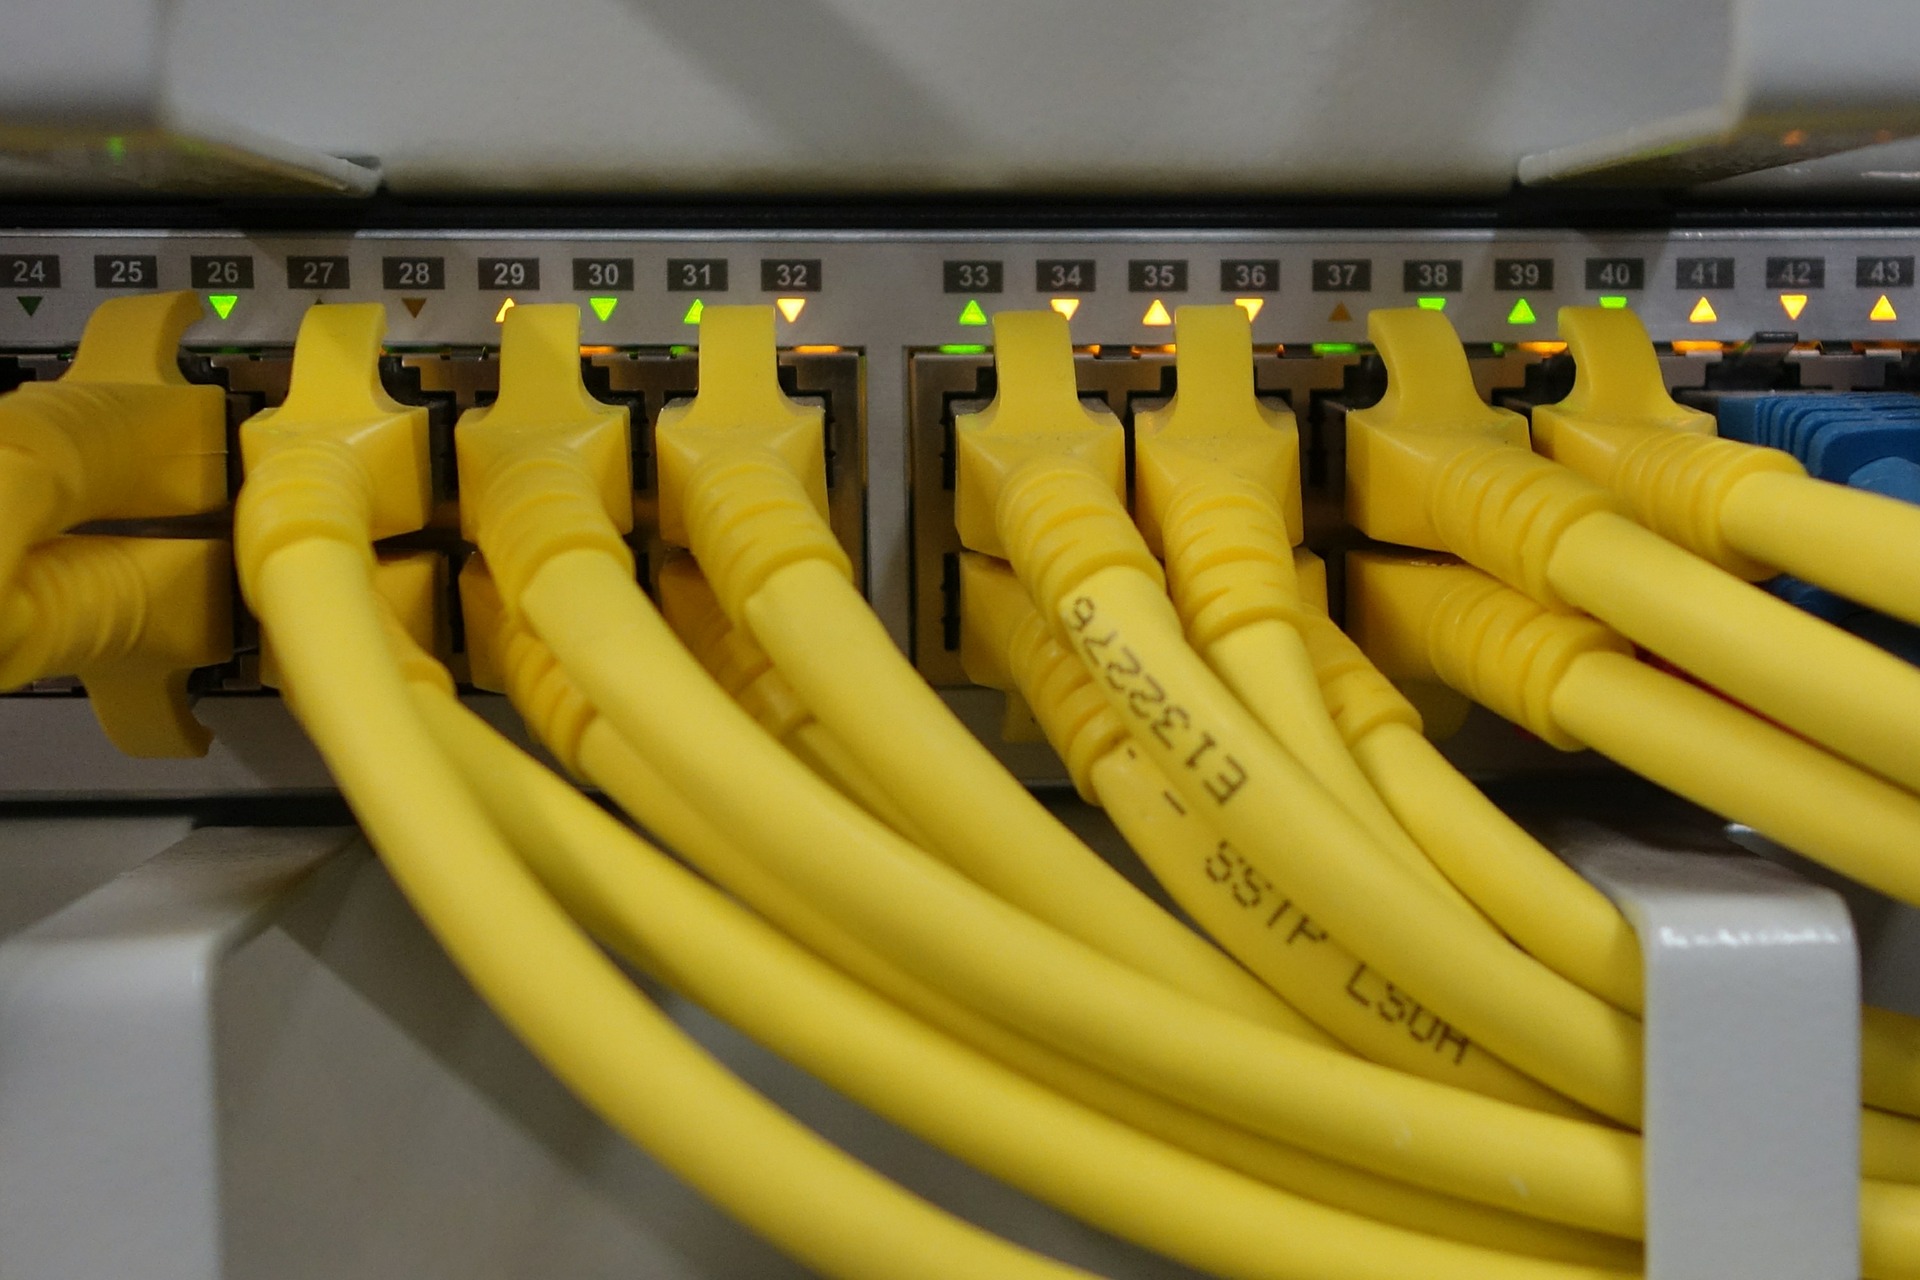
With it, devices such as Wi-Fi access points or cameras can be powered up with a single Ethernet cable (like the common Cat5e or Cat6). You do away with a power cable that many of today’s network gear and connected devices depend on.
What this means is a lot more flexibility, especially if you’re planning your network as part of your home renovations. Here are some key considerations and steps to take:
1. Scout out where you need coverage
Planning is important before work begins. Look around your apartment or house to see which rooms need their own Wi-Fi access points and where the optimal spots are for coverage.
Remember that direct line-of-sight is best and signals often cannot penetrate more than a few walls, or even a single wall that hides a thick beam holding up the building.
Some rooms may be situated at the end of a short walkway or behind a reinforced bomb shelter (common in many Singapore homes), which may make it hard for signals to travel through.
In these cases, if you do not already have structured cabling in the walls, you might need to run cables to the rooms to connect up your Wi-Fi access points.
2. Get your structured cabling in
If your new dwelling does not come with Ethernet cables built in, then it’s a good idea to consider how you might run these cables to the rooms that need the connectivity.
No matter how good mesh Wi-Fi promises to be, it is pointless if an access point serving a room does not have a good connection to the rest of your home. So, it’s always a good idea to run structured cabling throughout.
Usually, the first places you should think of are common areas like the living room and bedrooms. Unless you have relatively few blockages or walls separating the rooms, you should have a cable running into each room to connect them.

Think of cameras as well. If you want a camera near a window or door, then it might be a good idea to run a cable – perhaps hidden in a false ceiling – to the location where it is going to be mounted.
Yes, a PoE camera can be powered up by a single Ethernet cable, so you don’t have to worry about having a power socket nearby.
False ceilings are often an ideal place to run cables through, though some folks who plan to hack their floors can consider burying the cables below their new tiles or other surfacing finishing.
The last alternative, if you’re not hacking anything at all, is to run plastic trunking along the sides of your room where it will be the least obvious.
3. Pick the right gear
There may be many Wi-Fi 6 or mesh Wi-Fi routers for consumers today but few come with PoE, unfortunately.
Good news is, there are budget-friendly enterprise networking brands such as Ubiquiti that offer great kits for small businesses that should work well for home networks as well. Aruba, which caters more to businesses, may also have promotions from time to time so do check out their offers.
Speaking with some Wi-Fi installers previously, I’ve known Ubiquiti to be a popular choice today, thanks to its powerful yet user-friendly Web-based interface that lets you manage your network easily.
It has a range of networking gear as well as PoE cameras that can be powered and connected via a single Ethernet cable.
What you need to begin with is a standalone router or gateway that connects to your fibre broadband modem or terminal device. From here, you connect to a PoE switch that has enough (and maybe even spare) PoE ports to hook up your various rooms and devices you plan to power up with network cables.
For your access points, you might select, say, a ceiling mounted version (those UFO-shaped ones) that gives better coverage across your largest room – typically the living and dining rooms.
For the bedrooms, an in-wall access point is ideal. All you have to do is take out an existing network socket (if you already have cabling in the walls), crimp and terminate the cable, then plug in the access point that sits flush to the wall. No messy cables or another device sitting on the table.
4. Set things up
Ideally, you should centralise your broadband modem, router and PoE switch where your network patching is done. This is where all the cables from your various rooms and devices lead to, so you can plug them into your PoE switch to power them on.
There are a number of PoE standards that specify the voltage that is supported. You might need to be aware of them and buy a beefier switch if you’re daisy chaining or powering more than the usual access point or camera (think of lights, gate security systems or other power-hungry devices). Otherwise, POE or POE+ standards are usually good enough.
Most Singapore apartments and houses are also not that huge that you need long runs of Ethernet cables that require, say, signal repeaters or PoE injectors to boost things. Unlucky if you live in a huge bungalow…

Don’t forget to get thick, proper Ethernet cables as well. Avoid the skinny types that skim on shielding, for example. Just to be safe, stick to the regular Cat5E or Cat6 cables for your PoE links.
The good thing about Ubiquiti’s Unifi range, for example, is that the access points will work together if you set them up as one unified network with a similar network name (or SSID). This means you can walk from one room to another with your Zoom or YouTube stream uninterrupted. Yes “Mesh Wi-Fi” built in, and enterprise-grade performance as well.
What if you don’t have cabling?
Of course, there may be some areas at home that are hard to reach by cable without a bit of hacking that you want to avoid. Think of the front facade of your home, for example. In this case, fully wireless connections may be an alternative over PoE.
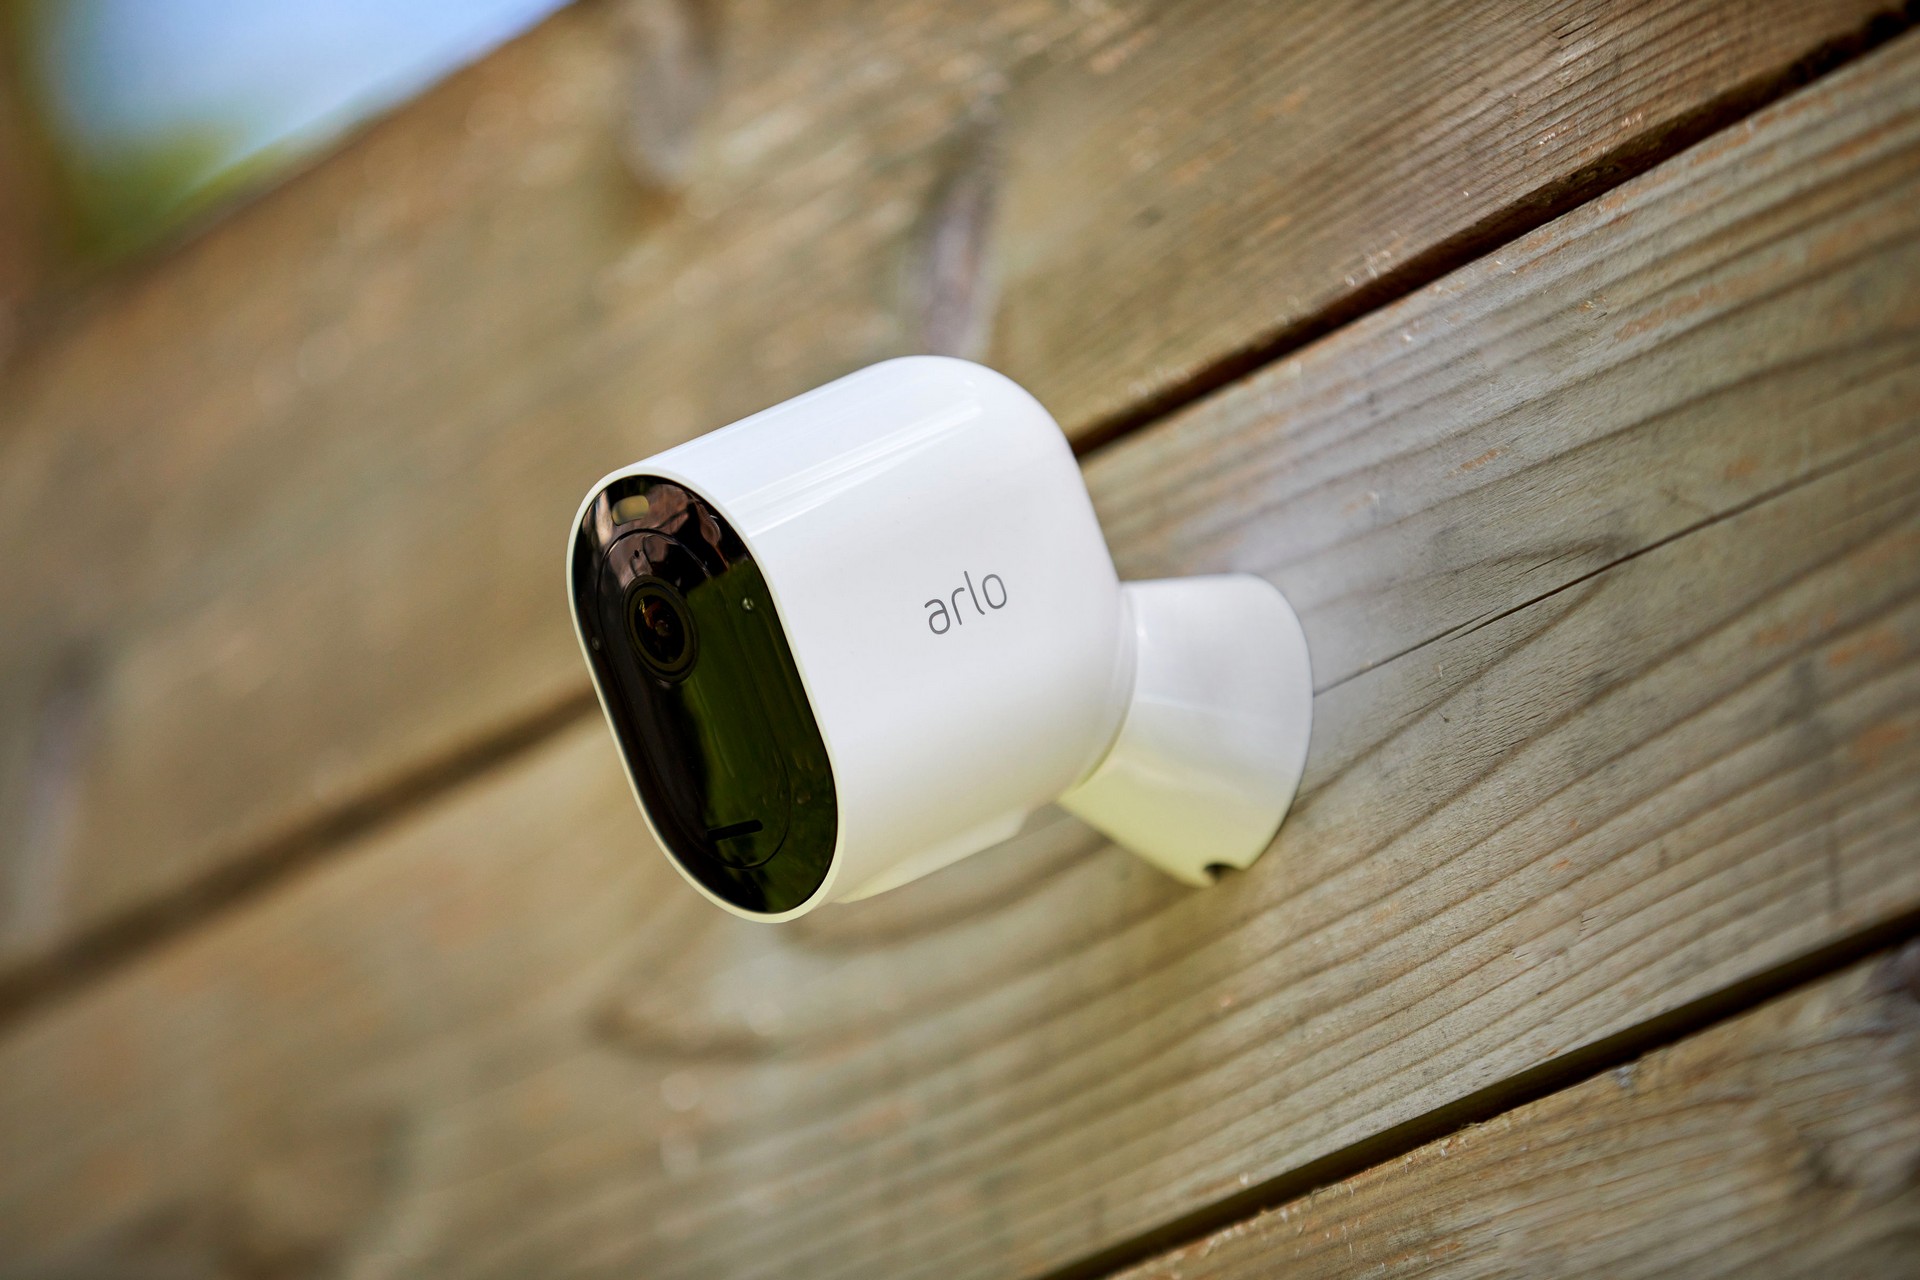
Here, wireless cameras, door bells and cameras come in handy. Arlo’s wireless cameras, for example, connect to a Wi-Fi network and run on batteries so you don’t need a cable at all for hard-to-reach places. You may have to juice up the battery from time to time, depending on usage (you may only want them on at night or when you’re away).

For more convenience, the Arlo Essential and Pro 4 cameras connect directly to your home Wi-Fi instead of a separate Wi-Fi access point from Arlo itself.
This means you don’t worry about setting up a second Wi-Fi network (using up the congested 2.4GHz range) that crowds up your regular Wi-Fi network, though your camera feed will share the bandwidth with other devices in your network.
Already got your home network running PoE at home? Looking to set up one? Share with us!


